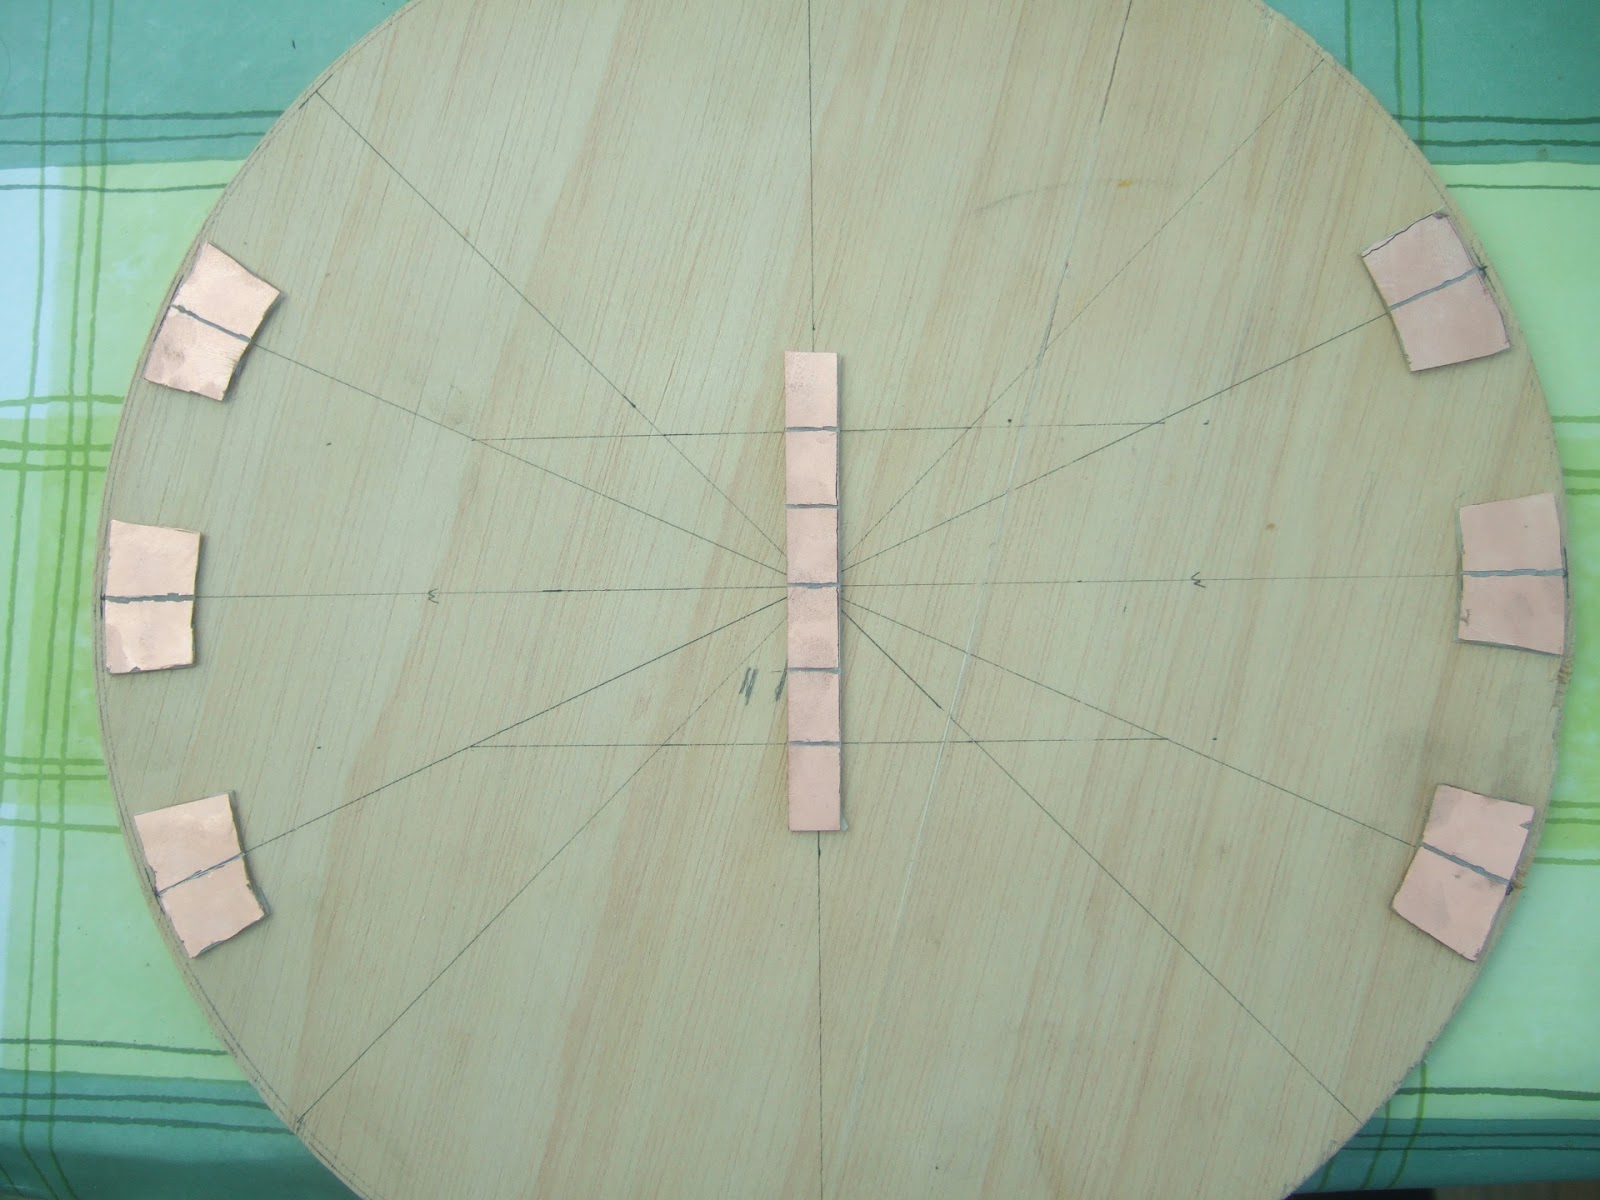
As promised, work has continued on the fiddle yard today. The first job was to cut out and glue the necessary copper clad boards to the top surface of the turntable. You'll note a myriad of lines used which mark out the centre lines of the 3 tracks. There are also a few other excess lines. The 2 running horizontally in the image below show the minimum distance between the track centres.


Depending on how much room I have left once all the wiper contacts go in, I've toyed with the idea of adding some sort of LEGO mechanism to turn the table by hand. We'll see though!
Update:
I decided to rebuild the fiddle yard, well, get rid of the polystyrene base anyway.
I knew I'd need a stable base for the end of the tracks on the turntable side, plus I'd need a convenient place for wiring anyway. So I cut up some softwood battens, and sawed off the polystyrene. As you can see, when I designed the layout, I made sure that the wiring was easily accessible, and so to this end the control panel is held on by 4 nuts and bolts. This has proved to come in handy!


Then it was time to start soldering the tracks into place. First up was the easiest one - the centre track. This was first soldered onto the centre piece of copper clad board, and the two ends followed soon after. Important to note are all the gaps cut in the copper clad boards to maintain electrical insulation between the various rails. Anyway, then it was time to do the same to the outer tracks - middle section first, then the outer sections. This meant that the curve should be relatively smooth throughout. Another thing I should mention is that I aimed to keep the rail straight for the first couple centimetres of each end - this should hopefully prevent any derailments.

I don't have a photo, but 12 bits of copper clad board were also put on the underside of the turntable which will form the electrical contact...eventually! I do have some springy steel but I might have to buy some phosphor bronze strip from somewhere. I didn't get any further than that, but the tracks all seem to line up nicely in initial testing. Before I go any further I need to sort out the approach and loco storage roads and lay them down onto something more substantial than the polystyrene they are currently resting on.

Depending on how much room I have left once all the wiper contacts go in, I've toyed with the idea of adding some sort of LEGO mechanism to turn the table by hand. We'll see though!
Update:
I decided to rebuild the fiddle yard, well, get rid of the polystyrene base anyway.
I knew I'd need a stable base for the end of the tracks on the turntable side, plus I'd need a convenient place for wiring anyway. So I cut up some softwood battens, and sawed off the polystyrene. As you can see, when I designed the layout, I made sure that the wiring was easily accessible, and so to this end the control panel is held on by 4 nuts and bolts. This has proved to come in handy!


Comments
Post a Comment