The Lighthouse Lantern Room
Progress has been very slow this week, but I have managed to make a start on a replacement lantern room for the lighthouse. You may just remember that the original was a rush job to get the layout in a presentable state for our exhibition last May. Looking at it again more recently, I realised first and foremost that the metal uprights were far too thick compared to the real things, but also that the octagonal shape was... well, not exactly octagonal.
So, work began by drawing intersecting lines at a 45 degree angle, to form an actual octagon. 20 thou (I think) plasticard was then cut into 3mm wide strips, and mitred to form an octagonal ring:

The upright panels were also cut out, as well as a 2mm octagonal ring. The following photos show the two ring components stack on top of each other. The original thought was that these would form the ring that the windows would sit on top of. You'll see what I actually did later.

Quickly drawing a paper mock up, it became clear that something looked wrong. After a second opinion, it was brought to my attention that the prototype (at Spurn Head) was actually tapered (at least it certainly looks like it from the only photo of it I could find). The photo below shows the straight version on the left, and tapered on the right; suddenly it "feels" much better:

With that settled, I turned my attention back to plasticard. As you can see, in the end I decided the original octagonal rings would now be used as the bottom set. Given that all this will be visible, it makes sense to make the inside look detailed; and the stepped base is a nice example of that:

As you'll have worked out, each upright panel would also now need to be tapered; that was easily done with my chopper tool.It then came to mitring the joins, but with plastic this small, I was running out of patience. Whilst a jig would've made this neater, I just stuck the panel in a mini-vice and sanded the 22.5 degree mitre in a very approximate manner!
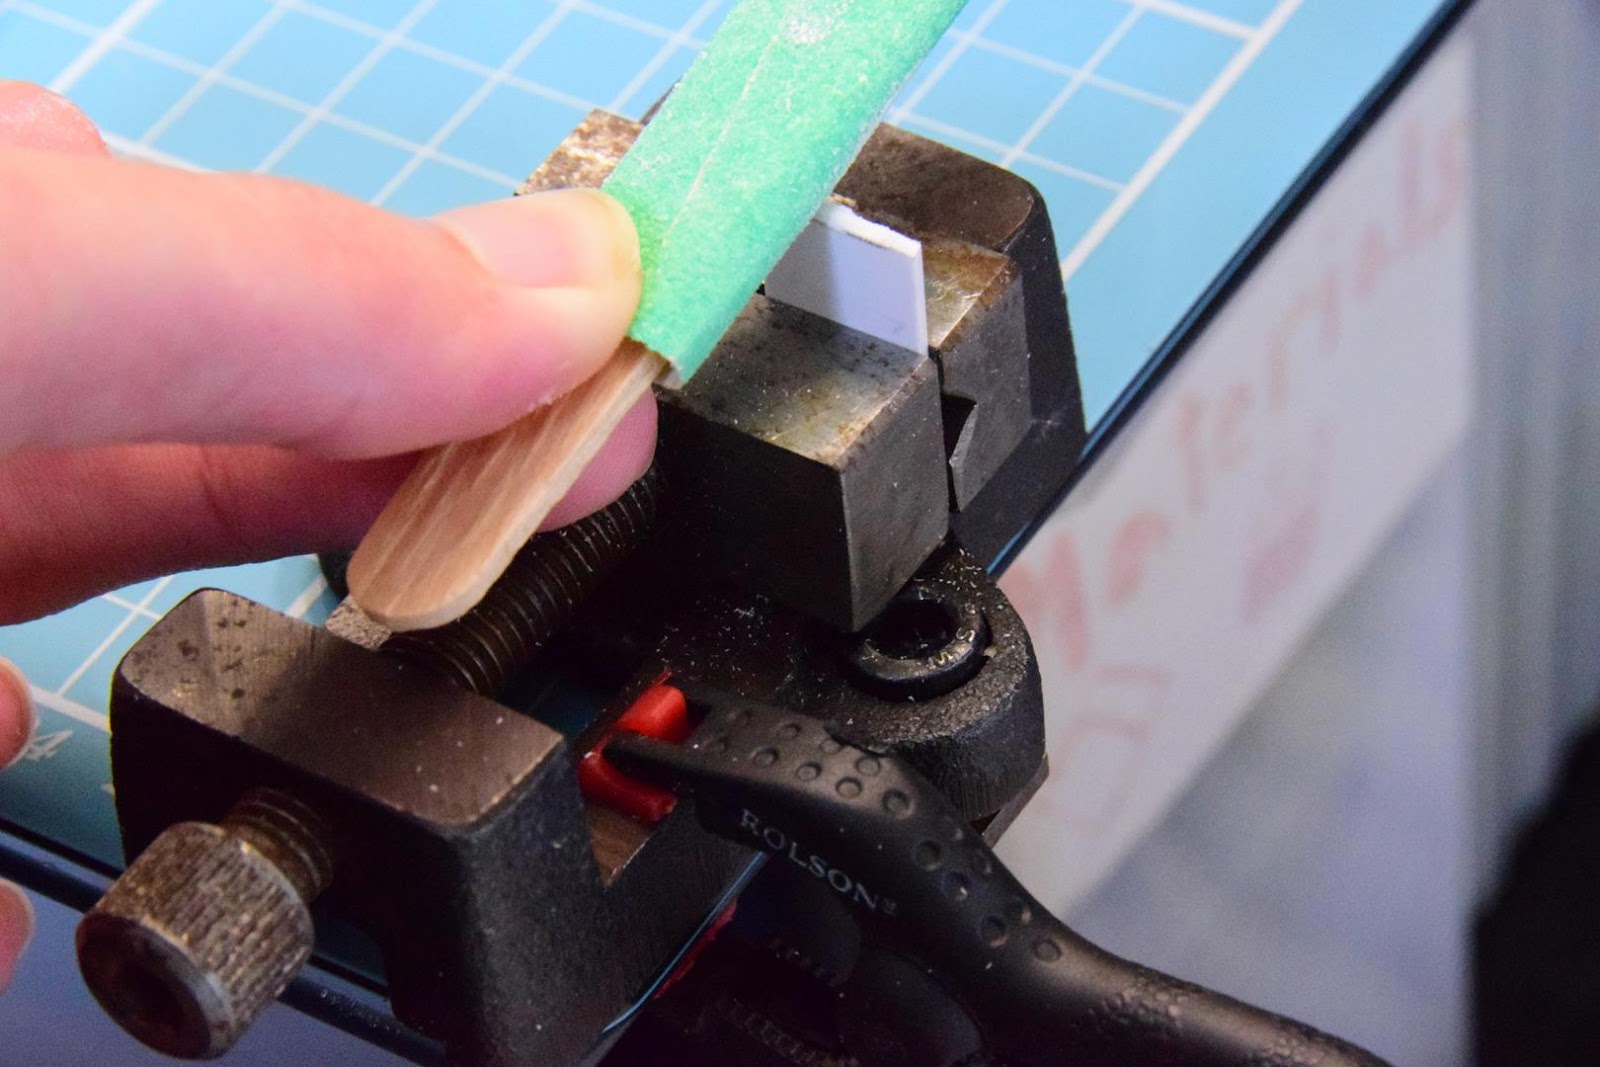
Happily, whilst not going to win any form of award for precision, it works as intended:

As you'll see, a bunch more tiny strips of plasticard were cut out with the chopper tool, and these were to become the window frames. In order to make the frames look even thinner, the uprights had about 1mm taken out of the back. Actually, this ended up looking pretty similar to the frames from Plymouth's Smeaton Tower (albeit without the ornate wood carvings!).

And here are the windows being made (with some trusty transparent plastic packaging from Wills sheets); you can also see the marks to show the window frame locations:


Realising I would need incredibly thin plasticard to make window bars that would look anywhere near the right size, I realised I would need to find an alternate method. Searching around on forums, I realised that simply scoring the plastic windows can sometimes be enough to represent those really thin frames. I did do a little experiment with a bit of white paint, but couldn't get it uniform or straight enough for it to look convincing.

The result of the scoring, especially in the right light, is a fairly good representation of old windows:

And I'm afraid this is where progress stalled. I wanted to make a thin overlay for the upright panels underneath the windows to give them more depth. I have gone through a number of options, but trying to cut them out neat enough proved more difficult than I expected, even though the plasticard is incredibly thin.
I'm currently leaning towards using a hole punch to form a large-ish circle, and then drilling a smaller hole through the thicker upright panels to form an air vent. I could then cover the hole with a piece of semi-circular plasticard to form a vent cover. Sounds good in principal, but aligning this tiny piece of plastic into a hole punch is much harder than you'd imagine. I think I'll have to somehow make a jig for it before I go any further!

And so that sums up this weeks incredibly tedious progress. Still much left to do on the lighthouse (including 5 more damn windows!)
Comments
Post a Comment