Despite two back-to-back weekends of exhibitions, there was still just enough time to make some last minute adjustments and additions to the layout. First up was to add a flashing light to the lighthouse. I had bought a cheap kit off of Amazon that was supposed to represent a typical slow flash... unfortunately, whilst soldering it all up was a breeze, the end result was a flash that wasn't the slow fade in and out I was hoping for! Oh well, it'll do fine for the Woodgreen show, I'll probably change it for future shows though.

Next up was to begin to ease the transition between the scenic and non-scenic section. Whilst this is only the beginning of my plans, the first idea was to add some slightly scenic-ed elements in the fiddle yard. First up was to make another sand dune, using the same methods as the rest of the layout. By cutting a basic shape of polystyrene with a hot wire cutter, we have this:
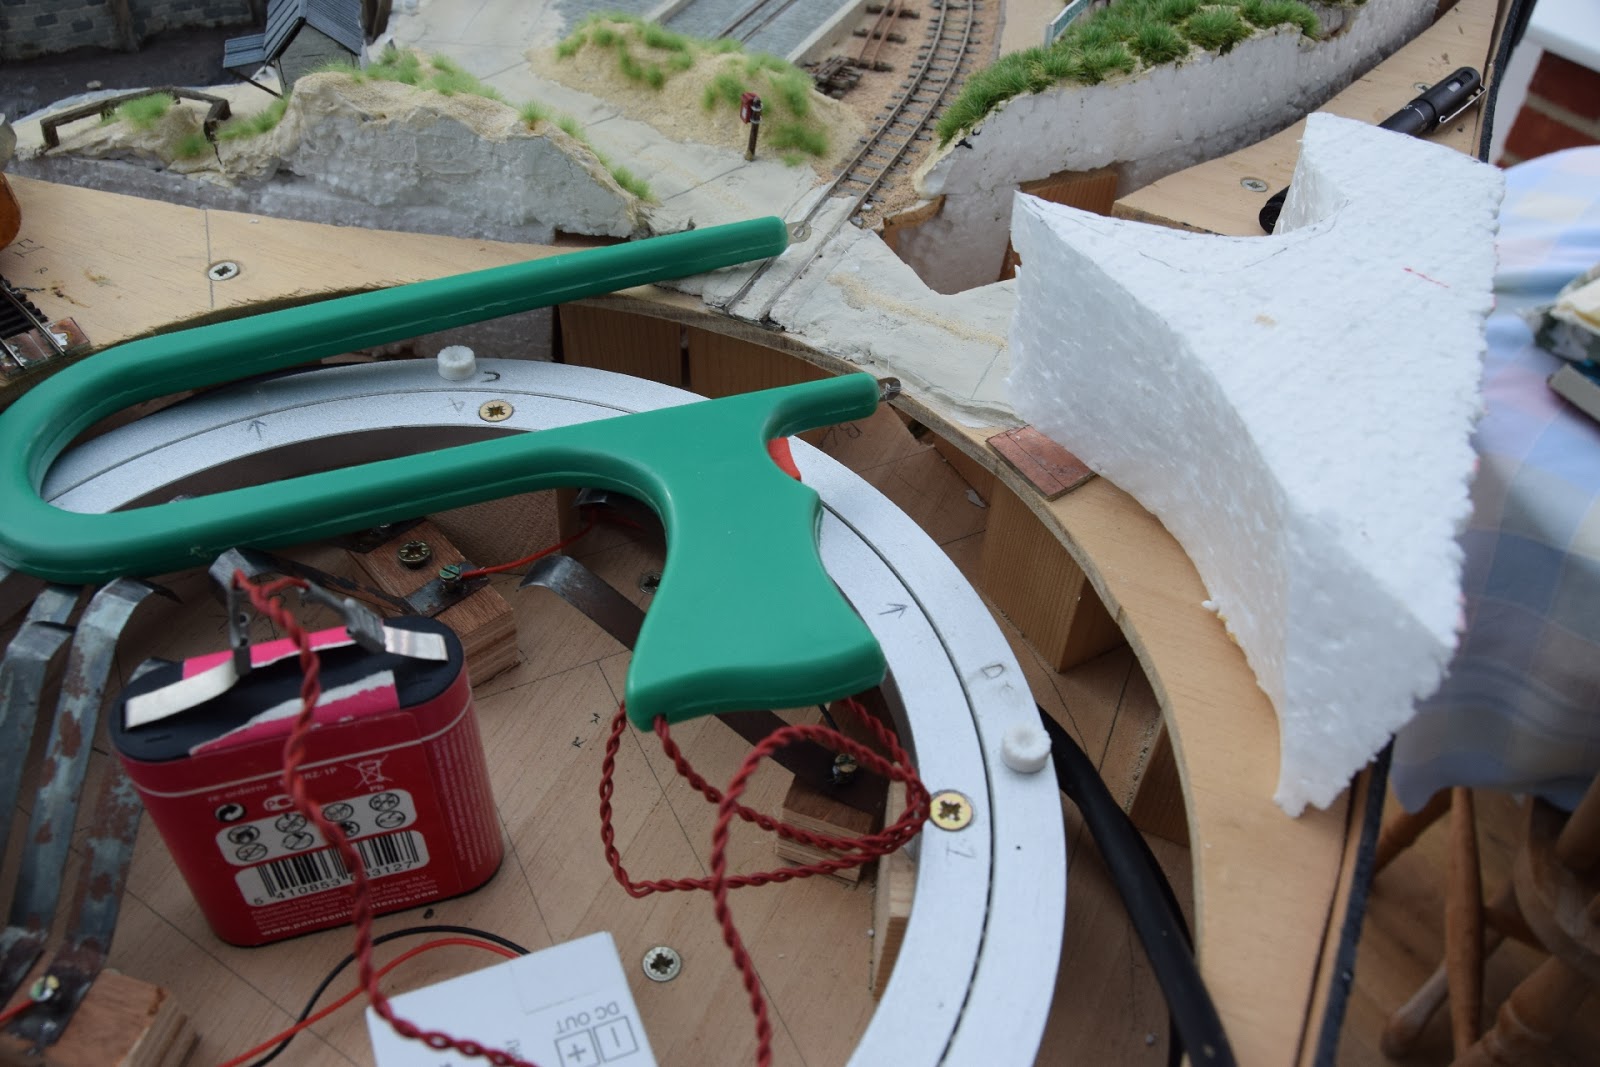
With the basic shape cut, the hot wire cutter was then used to make it look more sand dune shaped, with the rear side left vertical as it won't be seen. The polystyrene could then be glued with PVA, which was then weighed down overnight with a 500g weight. The following day, a layer of PVA could be brushed on, followed by a layer of polyfilla; which was applied with a glue spreader, and finally, using a slightly damp brush, smoothed. Once again, this was left to cure overnight. We'll continue this in a future blog entry!

So, still in the non-scenic section, I also decided to slightly scenic the train turntable. The first step was to paint the sleepers; this being done with a can of Plastikote Suede Touch spray paint. (I've had this can since Calshot, some 9+ years ago!). Once that had dried, I could crack on with covering the ply. As the scenic work needs only be very basic here, all I did was to cover most of it with a thin layer of PVA and play sand; and then ballast the track as per normal. I think I might add the odd tuft of marram grass here and there, and perhaps some barrow crossings to hide the PCB; but other than that, I think that'll be plenty to give an impression of there being something beyond the hole. It'll barely be seen from the scenic-side anyway!

Onwards to the next job, and that was to add some waves and ripples to the watery areas at the front of the layout. This turned out to be a really fun and easy experience. In truth, I had completely forgotten that I had this bottle of "realistic water" from Woodlands Scenics, as it's another left-over from Calshot! Whilst some of the deeper bits (i.e. in the tidal mudflats) took well over 48 hours to clear, they did eventually.

Note how, in the photo above, the ripples from the stream actually go towards the ocean, and not away (until the very edge of the board), as the stream discharges its water into the ocean.

The method of application was actually pretty straight forward. As the material is relatively viscous, it takes to shaping very well, making it easy to form waves and ripples. For the waves, I borrowed the technique from their own website: applying with a lollipop stick, and then standing the stick behind the material, and flicking it upwards towards the stick to form wave crests. The only thing not yet done is to highlight the crest of the waves with a brush of white paint. Anyway, you can watch how I made the waves in this quick timelapse video:

The tidal area was a doddle as it was simply a case of brushing (with a slightly damp brush) the material into the water channels. As mentioned, some of the deepest areas took over 48 hours to go fully transparent, but most took only 24 hours:

So there we have it, a few days worth of work, and Sandy Shores was ready for its outing to Woodgreen Model Show & Steam Rally. For more photos and details of the event, see my recent blog entry, here. As a little teaser, here's a photo I took of Sandy Shores at the event:

Comments
Post a Comment